Use the Payments section of the mobile app to pay tuition bills and additional fees, review your payment history, and manage your saved card.
TABLE OF CONTENTS
Tuition Bills
Tapping the Tuition tile opens the Tuition Bills screen. You cannot pay more than the total payoff sum that is shown above the bills list. Click the total payoff amount to insert it into the Payment Amount field. The bills for one campus are automatically selected the same way as when entering the amount manually.
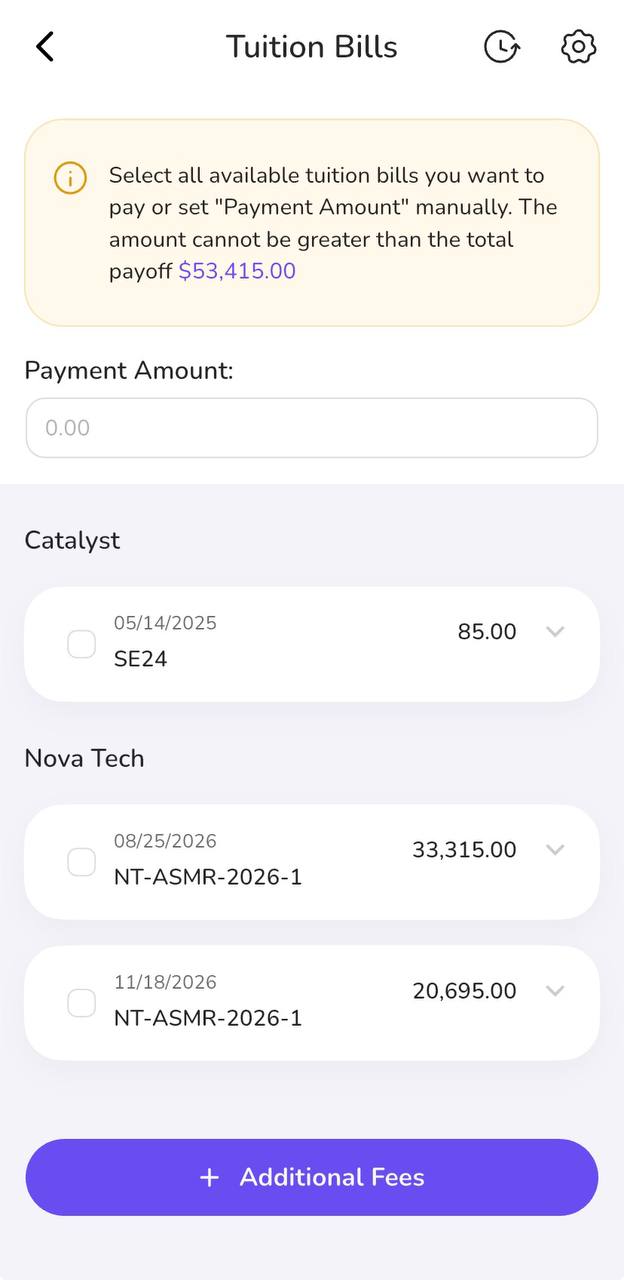
Note: Pull-to-refresh updates the selected bills and the entered amount.
Paying a Tuition Bill
- Select the tuition bill or enter the sum you need to pay, then tap the "Pay" button at the bottom of the screen.
- Confirm your student details on step 1 of 2, then fill in the billing details at step 2. Tap Same as Student Details action link to quickly fill the billing details with your information from the profile.
- After all fields are filled in, click the "Pay" or "Pay and Enable Automatic Charging" button to proceed with the payment in the browser.
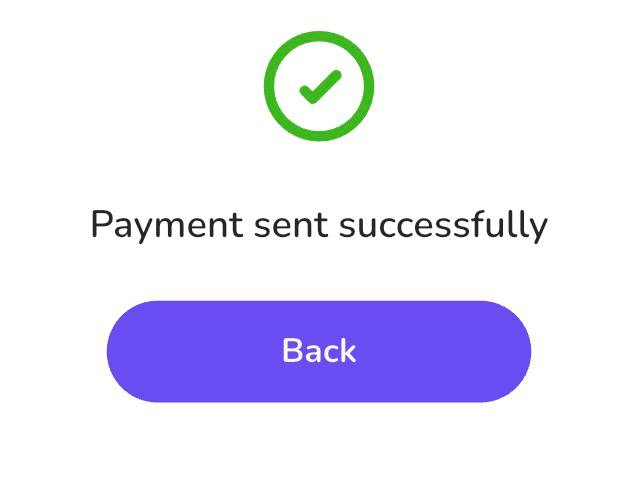
- After entering the payment information, tap "Confirm Payment." GEGI will process the payment and display its status. Tap "Back" to go to the tuition bills screen.
Additional Fees
Tap "+ Additional Fees" on the Tuition Bills screen to pay fees such as training, parking, or transcripts.

Choose the payment type, enter or confirm the amount, and select campus, program, and group. Fixed-price types lock the amount.
Follow the same steps to complete an additional fee payment as with a tuition bill payment.
Payment History
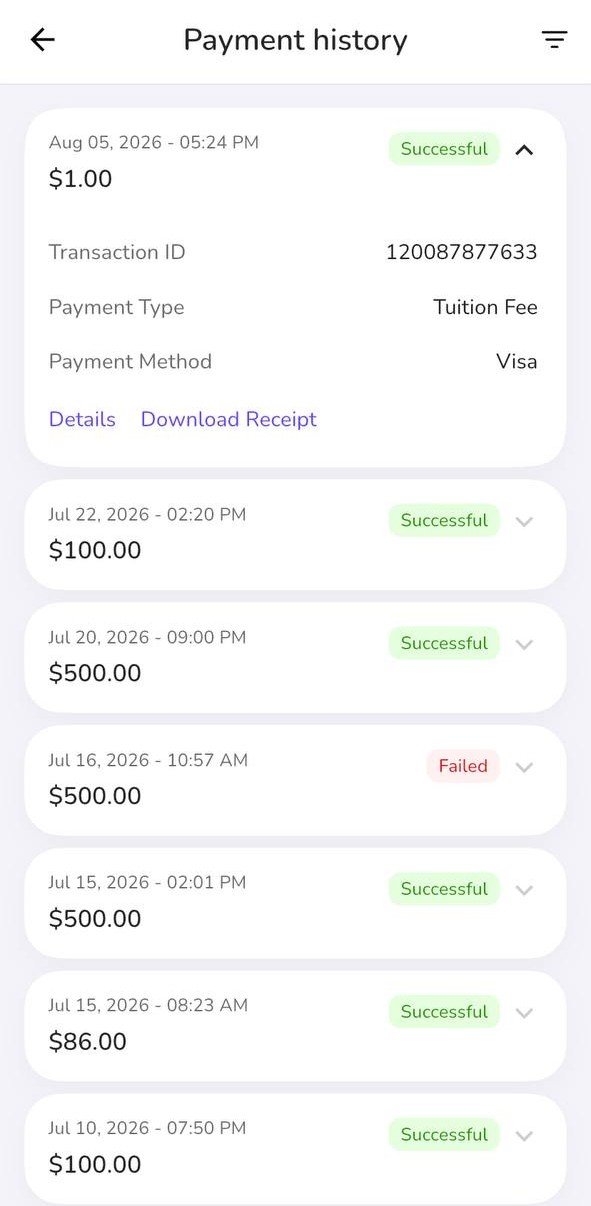
The Payment History page lists all your payments completed in GEGI. You can access it by tapping the clock icon on the Tuition Bills page.

Tap on an arrow to see more information about a particular transaction and to download a receipt for successful payments.
Filtering payments
Tap the filter icon in the top bar to open a filter dialog, where you can narrow the list by:
- Payment status.
- Period
- Amount.
A dot on the filter icon shows when a filter is applied. Tap "Apply" to apply the selected filters, or "Clear All" to remove them.
Automatic Charging and Payment Settings
If your school allows automatic charging, a "Pay and Enable Automatic Charging" button will be available to you during checkout (see Paying a Tuition Bill). Tapping it opens a dedicated consent dialog with its own terms text and agreement checkbox. You should check "I agree to automatic charging terms and conditions" and click "Pay and Enable Automatic Charging" to complete setting up the automatic payments:
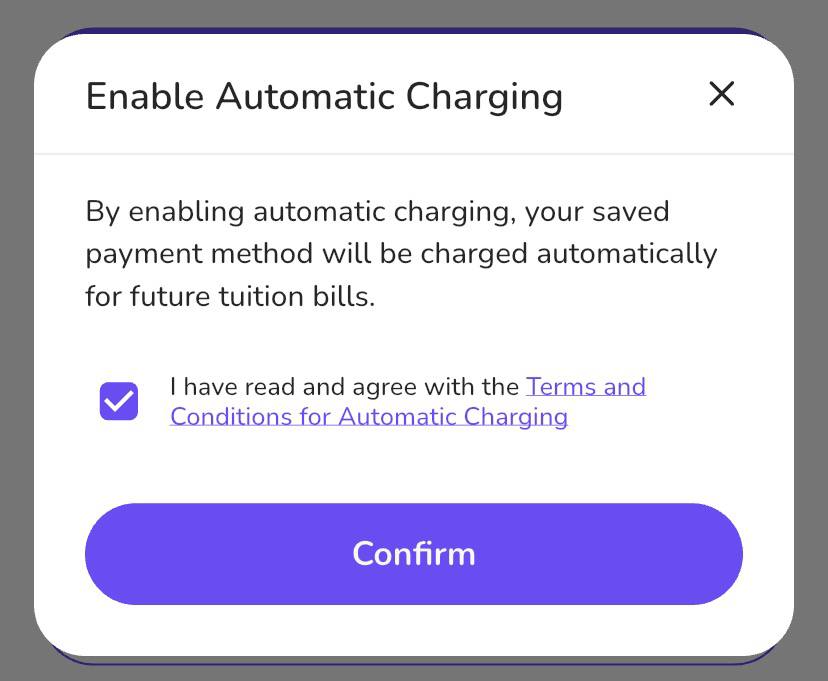
After this, all upcoming expected payments will be charged automatically to the same card.
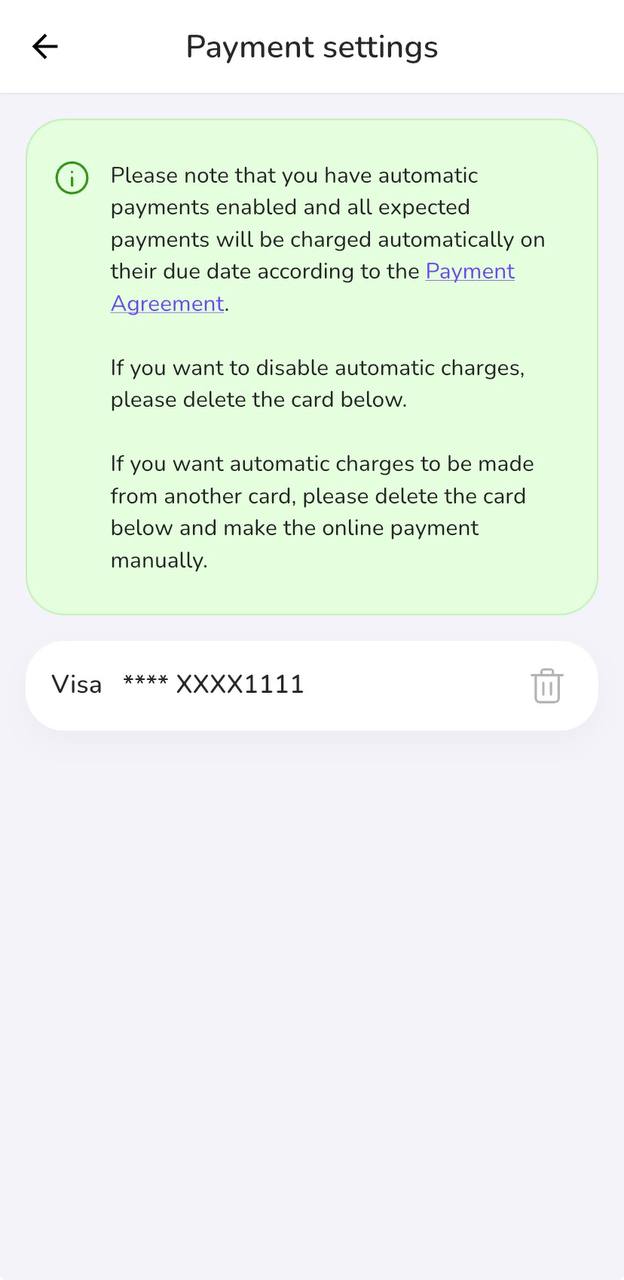
You can check your saved card or cancel your auto-payments anytime by going to the Payment Settings page by clicking a gear icon in the top bar on the Tuition Bills screen.